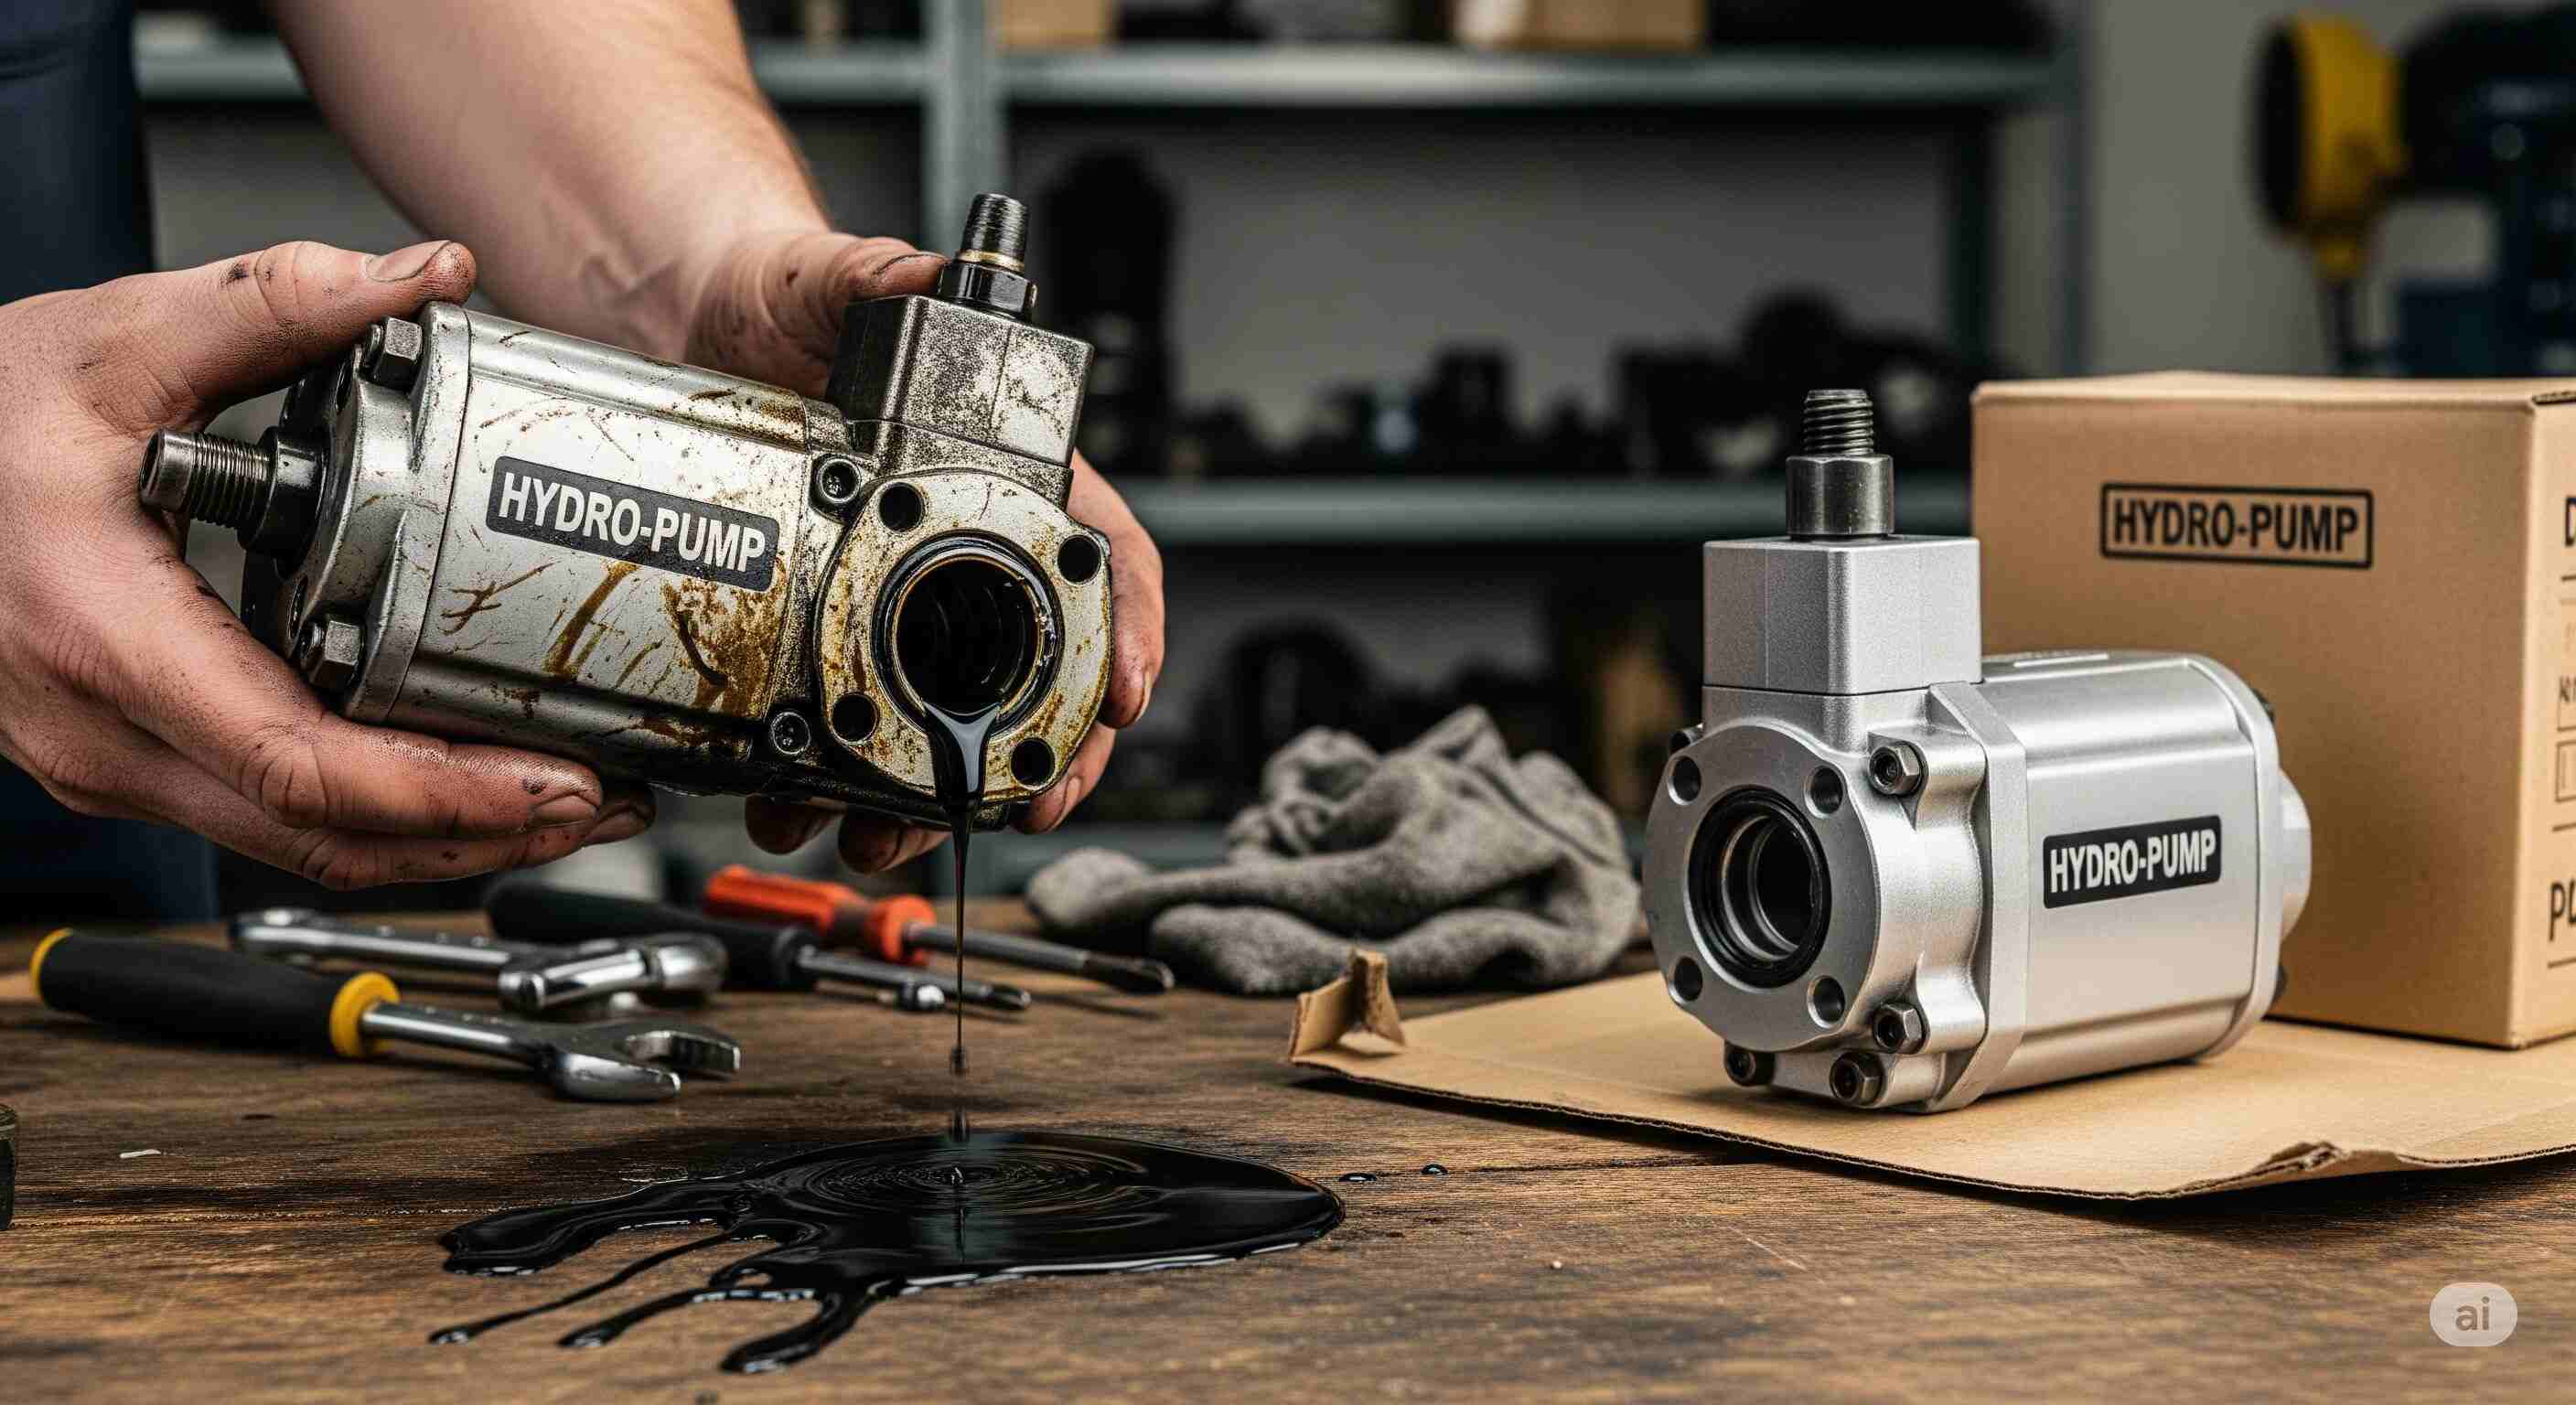
Replace or Repair? What You Need to Know About Repairing a Hydraulic Pump
Hydraulic equipment powers everything from factory equipment to your office chair. But when the pump starts to fail, the decision is clear: repair or replace?
In this guide, we're breaking down when it is worth repairing, how to repair a hydraulic pump, and why—sometimes—a whole replacement is just the better option. If you're repairing an industrial device or deciding how to repair a chair hydraulic pump, this tutorial walks you through it in simple, no-frills steps.

First, Know the Signs: Is Your Hydraulic Pump Failing?
Before diving into repairs, look for the most prevalent signs of pump failure:
- Loss of hydraulic pressure
- Leaks or oily residue in the fluid
- Unusual whining or knocking sounds
- Jerky or irregular movement
These symptoms can indicate internal wear, cracked seals, or dirty fluid.
How to Repair Hydraulic Pump Systems
Hydraulic pumps are the lifeline of most mechanical machinery. When they break down, production halts. In this visual disassembly, you will see how to fix a hydraulic pump, from disassembly to testing—it's ideal for technicians or DIY mechanics. Here is your visual guide on precisely how to fix a hydraulic pump properly and safely.
1. Initial Disassembly
The repair process starts by taking apart the pump with great care. The technician unbolts the main housing and disconnects major parts such as the shaft, bearing, seal ring, and rotor. This is done in order to see which parts are faulty and require replacement.
2. Examination of Internal Parts
The video stresses thorough examination of worn-out parts:
- Seal rings are easily damaged, and usually the reason is that fluid leaks.
- Bearing and rotors are checked for uneven wear or cracking.
- Surfaces are cleaned very carefully to avoid contamination when reassembling.
3. Defective Parts Replacement
The technician demonstrates how to:
- Exchange worn seals and bearings with new OEM replacements.
- Use hydraulic oil or lubricant on internal moving components to make installation easier and reduce initial friction.
4. Pump Reassembly
After replacing defective parts, the pump is reassembled in the reverse order:
- The rotor and shaft are aligned with precision.
- Seals are seated correctly in order not to leak in the future.
- Bolts are torqued correctly to prevent imbalance or warping.
5. Final Inspection
- The pump is inspected after reassembly:
- It is connected back to the hydraulic system.
- Leaks, vibration, and pressure steadiness are checked by the technician.
A repair job is considered successful when the pump works well under load without fluid leakage.
When to Replace, Not Fix
Even the best upkeep won't save a pump that's too far gone. These are when you'll opt for skipping the fix:
- Internal gears are beyond tolerance
- The cost of parts + labor is greater than a new unit
- The model is outdated, or no parts are available anymore
- You've already repaired it more than once
In these cases, full replacement brings more long-term payoffs—and fewer future shutdowns. At Hydro Pumps Parts, we're not merely another site – we're your site that retails Hydro-Gear genuine components. With the backing of Pronto Mowers' experience, a leading industry player in the landscaping industry for over 53 years
Get the Correct Parts to Repair or Replace Your Pump
Whatever you're trying to figure out, how to repair a hydraulic pump or whether you're replacing the entire assembly, Hydro Pump Parts has you covered. We provide:
- Complete repair kits
- Seals, gears, and fluid are separated
- Replacement gas lift cylinders
- Live support to help get the right parts
Guess less. Repair more. Browse our catalog today and bring your hydraulic system back to life.
Recent Posts
-
How to Check a Hydraulic Pump: A Complete Manual
You must check your hydraulic pump for safety, efficiency, and dependability. Regardless of whether …Oct 2nd 2025 -
ZT-2200: Everything You Need to Know About Its Serviceability and Lifespan
Among zero-turn mowers, the Hydro-Gear ZT-2200 transmission, or more popularly the EZT, is one of th …Aug 27th 2025 -
ZT 3400 Hydro Gear: Cost, Problems, Filters & Rebuild Manual
The Hydro-Gear ZT 3400 is one of the most powerful and reliable transmissions employed in mid- to hi …Aug 21st 2025


